Climbing the Direct North Ridge of Mount Stuart in a Day: Pack Light, Pack Snacks, Pack Apologies to Your Knees
The Direct Ridge of Mount Stuart is one of the Central Cascade ranges best moderate alpine rock climbs. Clocking in at 5.9+, Grade IV, The Direct variation adds about 800 ft of technical climbing before joining the more commonly climbed North Ridge route. We set out to climb the entire 2,800 feet of rock in a day, car to car, and you can too! Read all about our strategy, gear, and experience below!
Route Overview and Times
Here is a breakdown of our times:
Save some time by not doing what we did….
Trailhead to Ingalls Lake 2 Hours
Ingalls Lake to Goat Pass 2 Hours (Wasted an hour by dropping elevation before Goat Pass)
Goat Pass to Base of Direct North Ridge 1 Hour (With Water Stop at Stuart Glacier)
Climbing on Ridge 10 Hours
Start of Descent to Ingalls Creek 3.5 Hours
Ingalls Creek to Car 2.5 Hours
Direct North Ridge of Mount Stuart Elevation Profile
Strategy Notes
Starting and ending at Ingalls Lake trailhead worked well, and the Cascadian Couloir, though long and soul-crushing, was fairly straightforward in the dark. We used a preloaded GPS path for the descent, and we were glad we had it. We planned on 2 liters of water in our packs, as well as drinking as much as we could at our last water stop. This worked, but just barely. There could have been the potential to melt snow when beginning the descent, but we did not have a stove. We finished our last bit of water about ¾ of the way down the Cascadian, and filled back up at Ingalls Creek. Plan on the day taking longer than you expect. There are some very nice looking bivy platforms where the lower ridge meets the upper as well…..
Gear Notes
Overall, our kit performed exactly as planned. We decided to bring climbing shoes in addition to our approach shoes, and this allowed us to climb through the harder pitches much faster than if we had not brought them. More slings set up in an alpine draw configuration would have been very helpful also, as there was more fixed gear on the route than we had expected, as well as lots of options to use the slings for protection.
If we do the route again, we will probably bring closer to 15 or 20 slings in total; they don’t weigh much and would have proven to be very useful. A single 60 M half rope, used in a twin configuration, worked perfectly for us. Our layers performed well also, even though it did get cold and windy as we neared the top. We would still bring the unused layers if we were to complete the route again, if nothing else to stay a bit warmer in the case of an unplanned bivy. Choose your gear according to your ability, and the style in which you plan to complete the route.
Here is a video that goes much deeper into the dark arts of our gear nerdery for the Direct North Ridge:
Route/ Our Experience
Though we slept through our alarm and got a later start than we had planned, we made good time up to Ingalls lake - even with photo stops included- and stopped to refill water and have a snack only 2 hours after leaving the trailhead. After our break, we continued around the left side of the lake, gaining a bit of elevation. We made a mistake here, and instead of traversing across some steep talus while maintaining elevation on our way to Goat Pass, we continued following a trail downhill, then crossing the talus below what looked like cliffs from above.
From our lower vantage, it was clear that we could have easily traversed above these cliffs and saved ourselves from having to regain about 800 feet of elevation. This probably cost us about an hour in total.
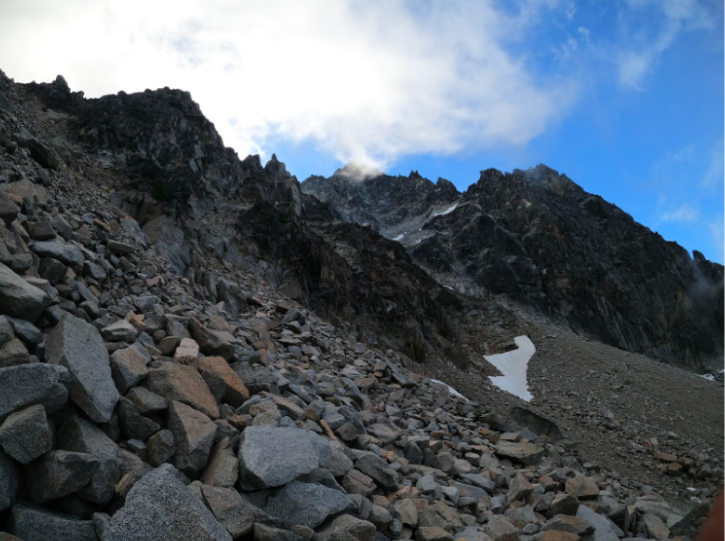
From the top of Goat pass, we had a great view of the North Ridge, and were quickly at the base gearing up to begin the climbing.
The North Ridge of Stuart coming into view as seen from the top of Goat Pass.
The first rope length or two of the ridge begins with a bit of class 4 scrambling then quickly turns into full blown technical climbing, which we planned to climb in a traditional pitched manner. Ryan took the first awkward “Slot” pitch, which goes at 5.8 but feels harder with a pack, then continued upward while I (Josh) simul-climbed for several feet behind him. Ryan brought me up to his belay stance and I quickly re-racked and took off on the next pitch, and after a few feet of 5.7, I found myself on a large ledge trying to figure out where to go.
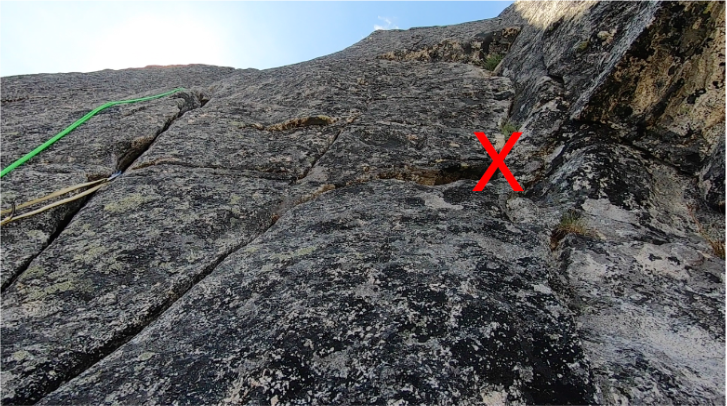
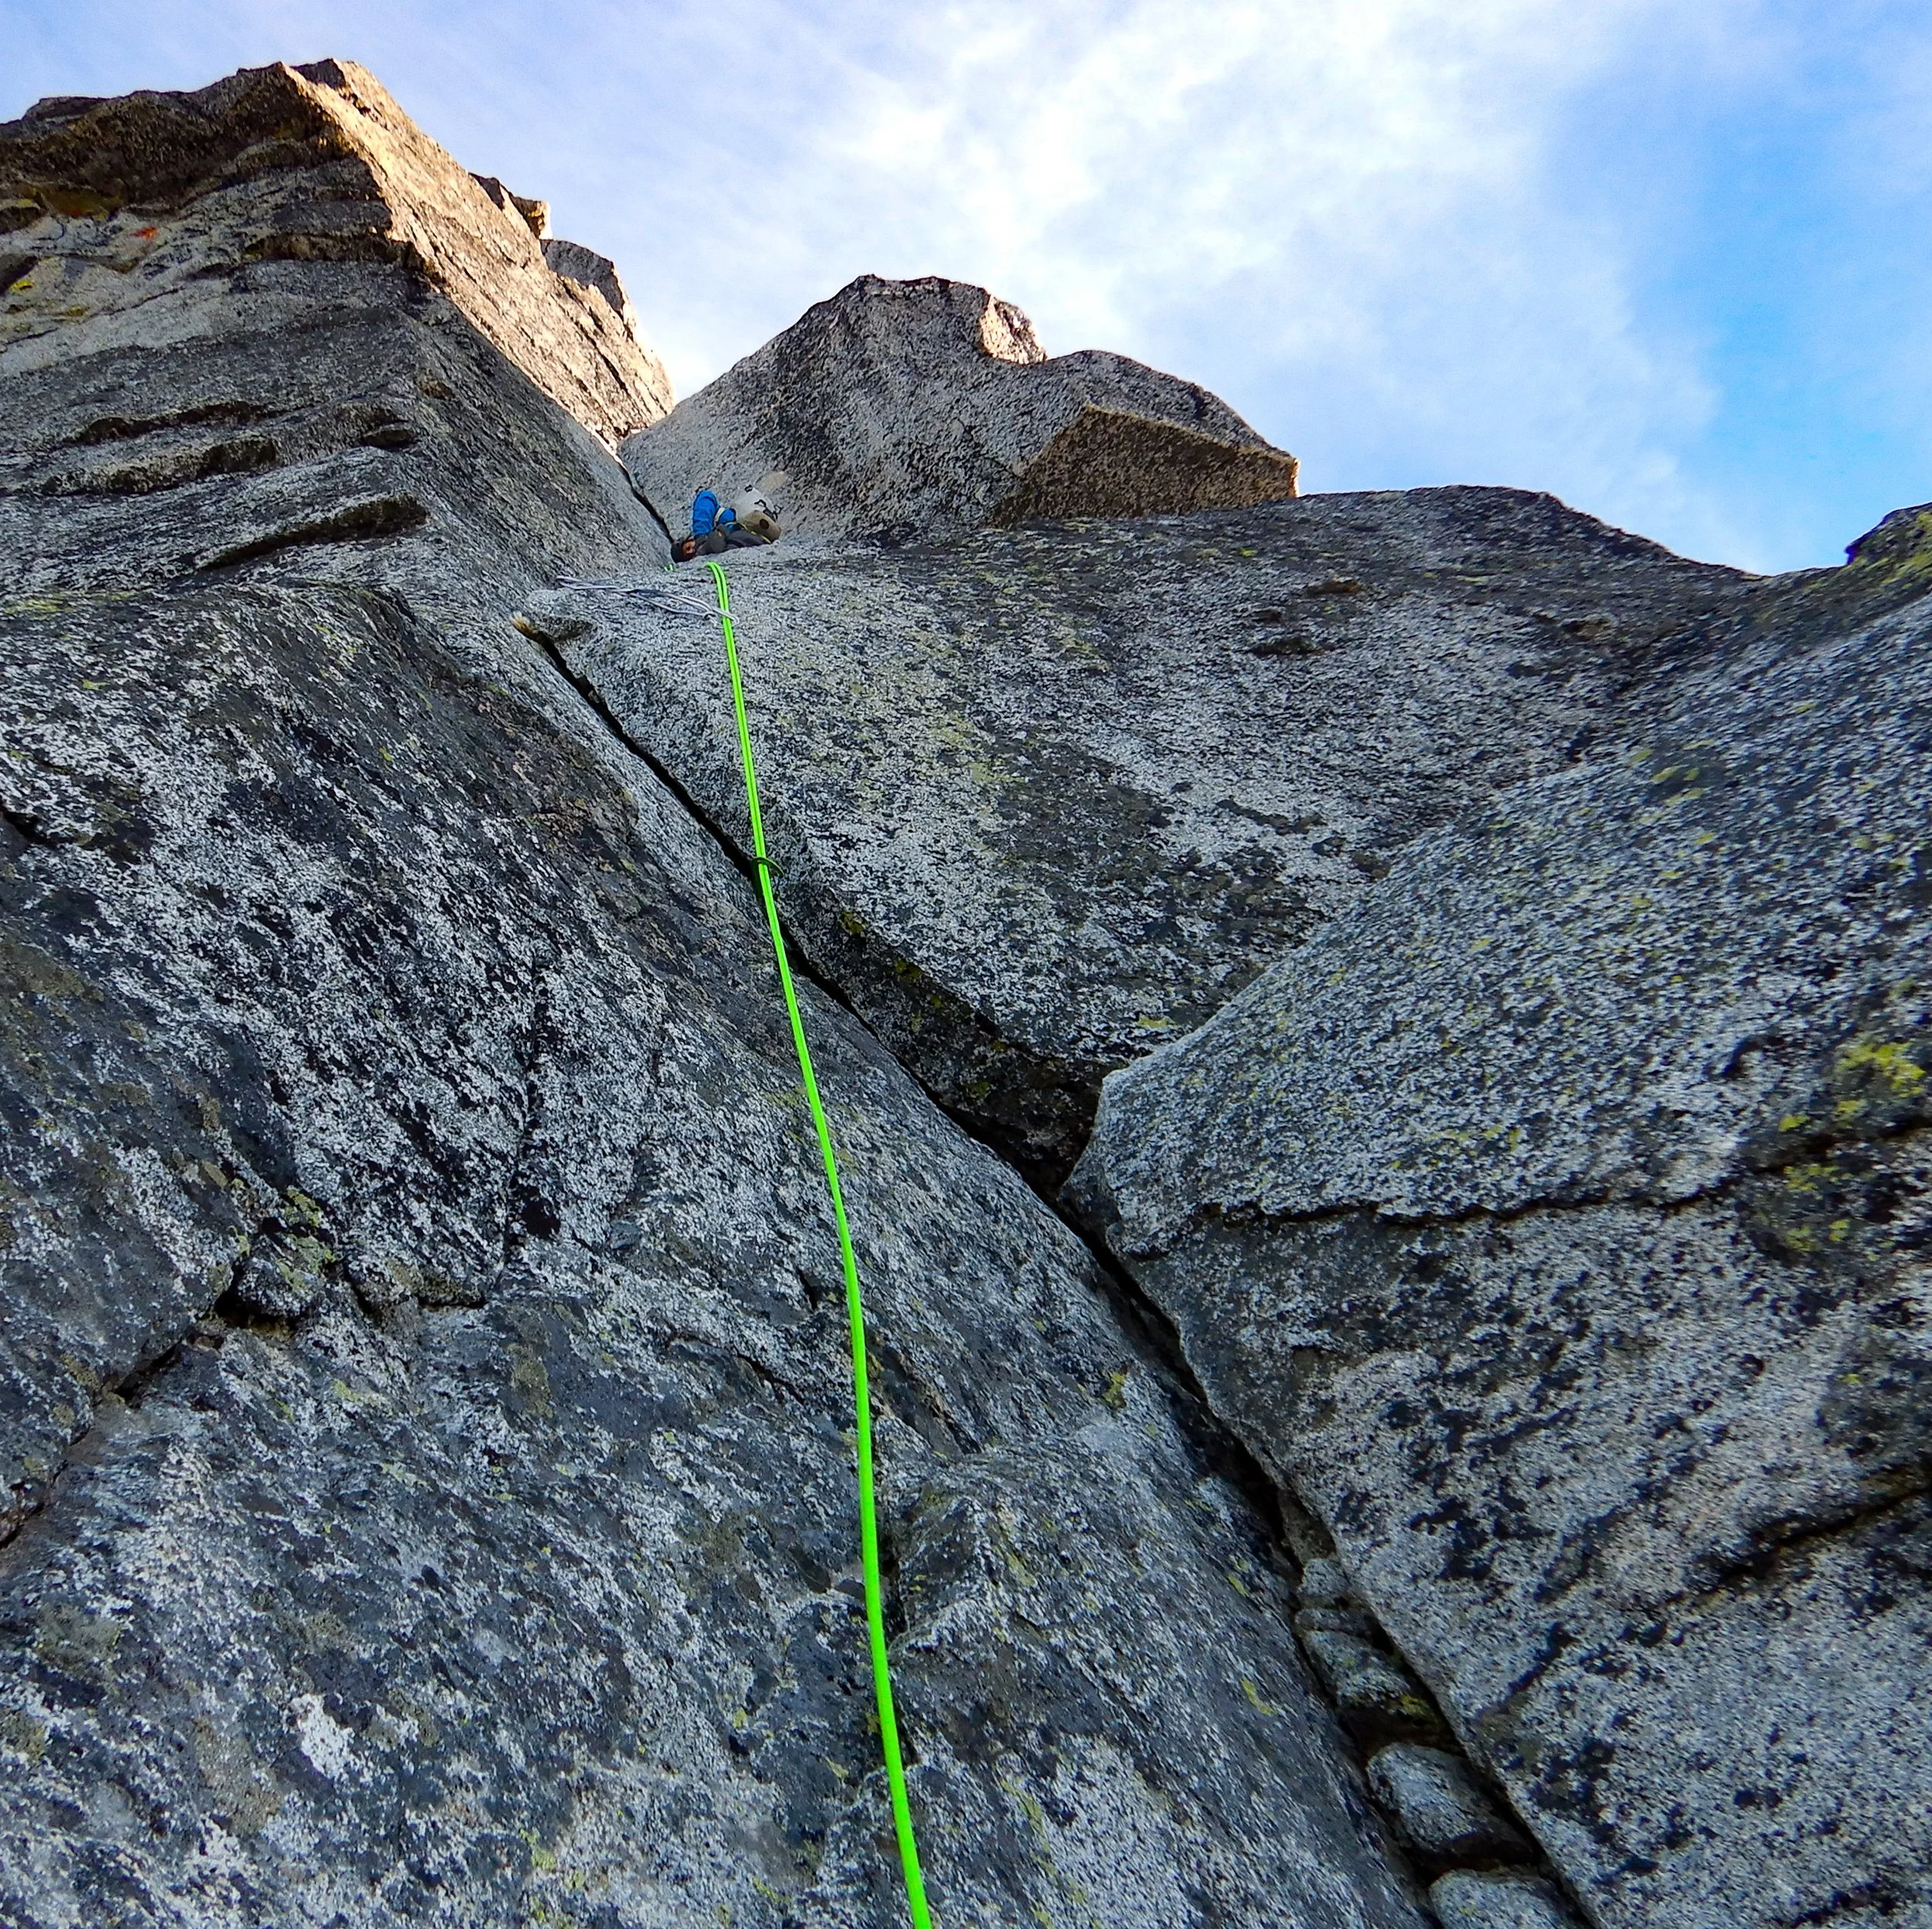
I knew that from this ledge, I was going to climb up a perfect 5.9 lieback, and I started up the crack that best fit the pictures I had seen. Turns out it was the wrong crack and after a few shenanigans I came down and brought Ryan up to the big ledge, where he took over and cruised the proper crack system. It is good to have strong partners in the alpine who don’t get too mad at you for being a dufus. Frustrated by my mistake, I took one more lead at about 5.7 up a lichen encrusted corner and brought us to the easier terrain above.
Looking up the 5.9 lieback pitch. The correct line follows the rope on the left side of the photo. The right crack system looks tempting from below but is incorrect.
From here it was endless simul-climbing on some class 4, but mostly low class 5 rock. The quality of the rock was excellent, and gear seemed to be wherever we wanted it. The route finding was mostly straightforward, with only a couple of sections where we had to sniff around to find the best line through. We weren’t climbing super fast, and were trying to take lots of pictures, but all in all the climbing was going well and we found ourselves on the exposed knife edge ridge then the awesome Slab with a Crack at the base of the Great Gendarme.
The Great Gendarme was the final crux of the route, even though we still had a couple hundred meters of easier 5th to gain the top of the ridge. I took the first pitch, a steep thin-hands crack through a couple of bulges, and soon pulled onto a nice belay shelf and brought Ryan up. Ryan launched up the second pitch of the Gendarme, clipping a couple pieces of fixed gear, included an old #4 Camalot, and traversed out right to take us back to the ridge proper.
The first pitch of the Great Gendarme. It felt pretty tough after all the climbing below.
After a bit of route finding, we finished the last couple hundred meters of climbing, including a pitch of what felt like 5.7, and found ourselves at the top of the ridge just as the sun was setting. Sitting above the clouds and seeing Rainier glowing in the distance was an awesome sight, but we were both glad to be done climbing and anxious to find the entrance to the Cascadian Couloir. We knew that once we were in the Cascadian proper, the descent should be straight forward, but finding the entrance in the dark was a bit daunting.
We followed cairns to the east, staying high whenever we could. We were soon at the entrance to the couloir, and after some class 3 or 4 downclimbing to avoid snow, we began the long descent back to the car. The couloir was straightforward loose talus with some steppy downclimbing here and there, but it seemed to take forever. It turns out that descending 4,000 vertical feet is a slog, no matter how you cut it.
A few hours after entering the couloir, we arrived at Ingalls creek where we refilled our depleted water bottles and tried not to fall asleep. After leaving the creek, we came across a couple of other climbers who had also climbed the Direct North Ridge. They had been on the peak for 3 days - even though they had planned on a single day ascent! We commiserated about how everything seemed to take us MUCH longer than we had anticipated as well, then continued the last bit to the car, happy, sore, and very tired.
High on the North Ridge.
Final Thoughts
The Direct North Ridge of Mount Stuart is an amazing climb that should be on every Alpine Rock Climber’s tick list. If you are planning on doing this line in a single push style, check out our post about how to lighten your pack to make this route as enjoyable as possible.
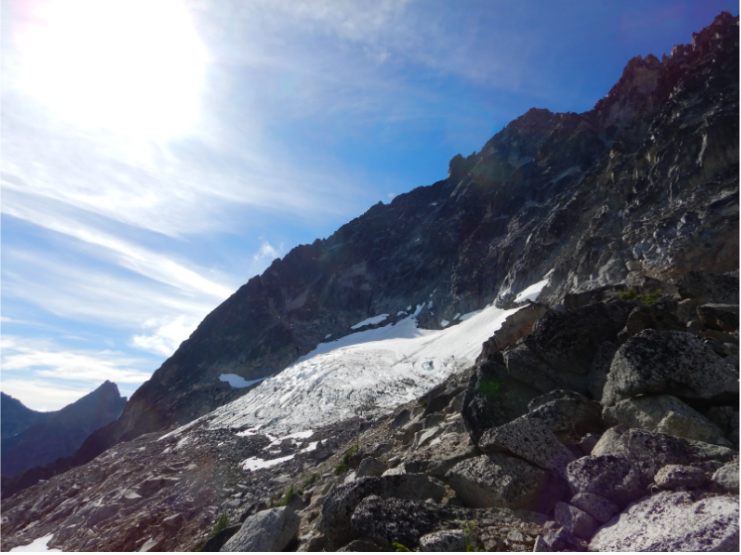
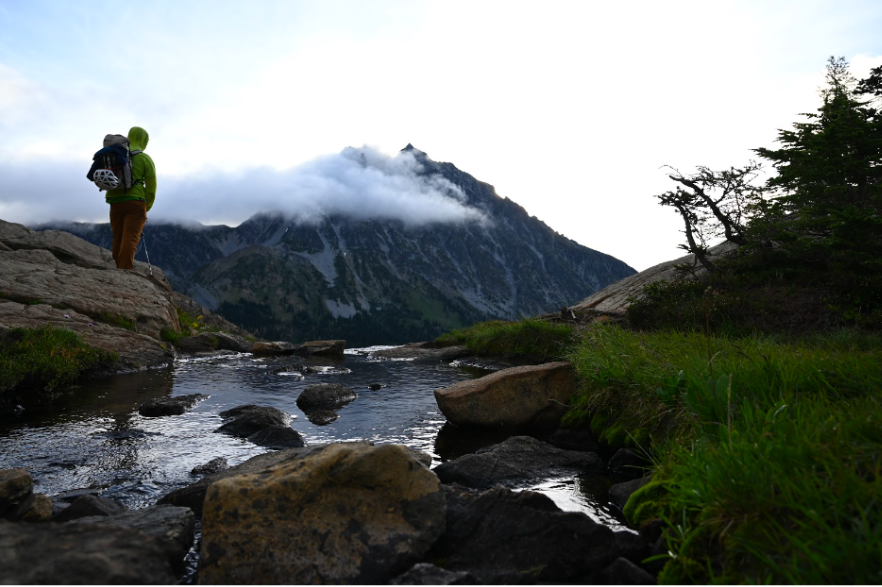
First Glimpse of Mount Stuart.






Packing the right gear for your adventure can be a difficult task. Bring too much and get slowed down, or bring too little and feel unprepared.